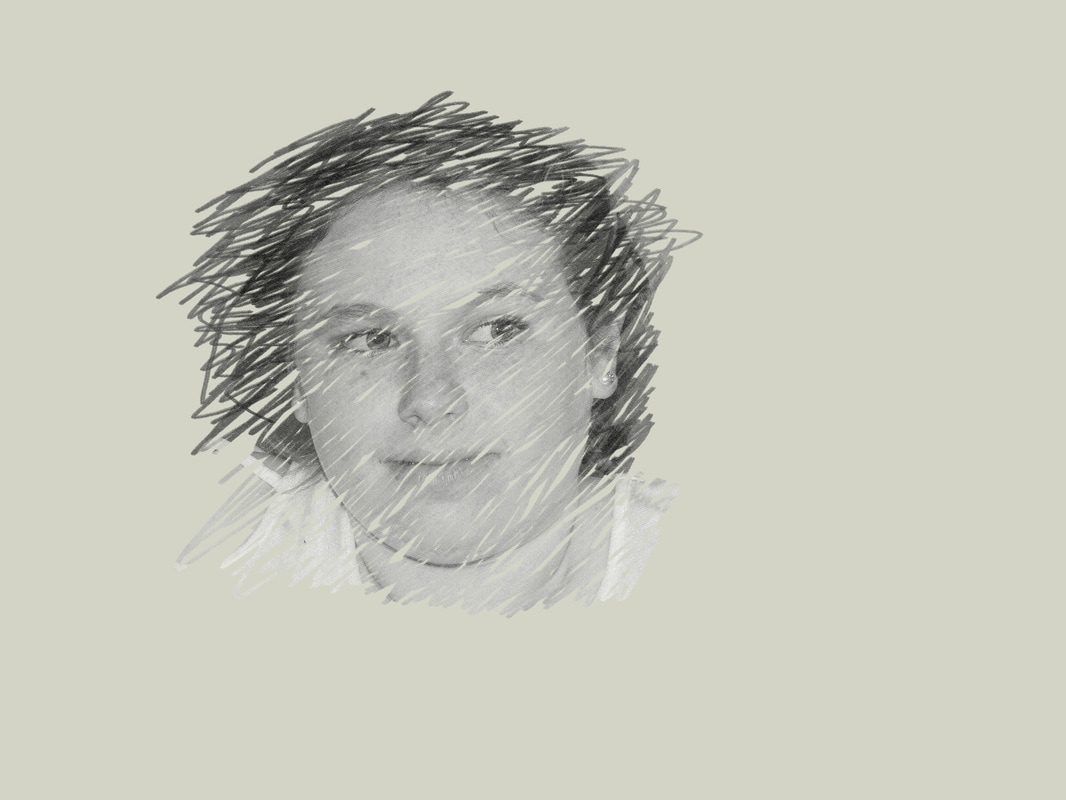
Choice Based Art Photograph Tutorial 1
I used the turn a photo into a sketch tutorial to complete the first photo and it took me one class period to complete. This project features a photo of my little sister Julia and i found that when creating it, the tutorial was very explanatory and easy to understand due to the descriptive directions and images used as examples of what you had to do.While doing this tutorial, I learned that although a sketch photo is typically black and white, the many diverse shades and pen strokes you use can give the photo a lot of detail and help it tell a more vivid story. Although this project was fairly easy, I did have difficulties changing the pen feature and size to make the whole photo come together in a more cohesive way. Overall I enjoyed doing this project very much and after considering it, i would say that this was my favorite choice based art project and i am very pleased with the final project.
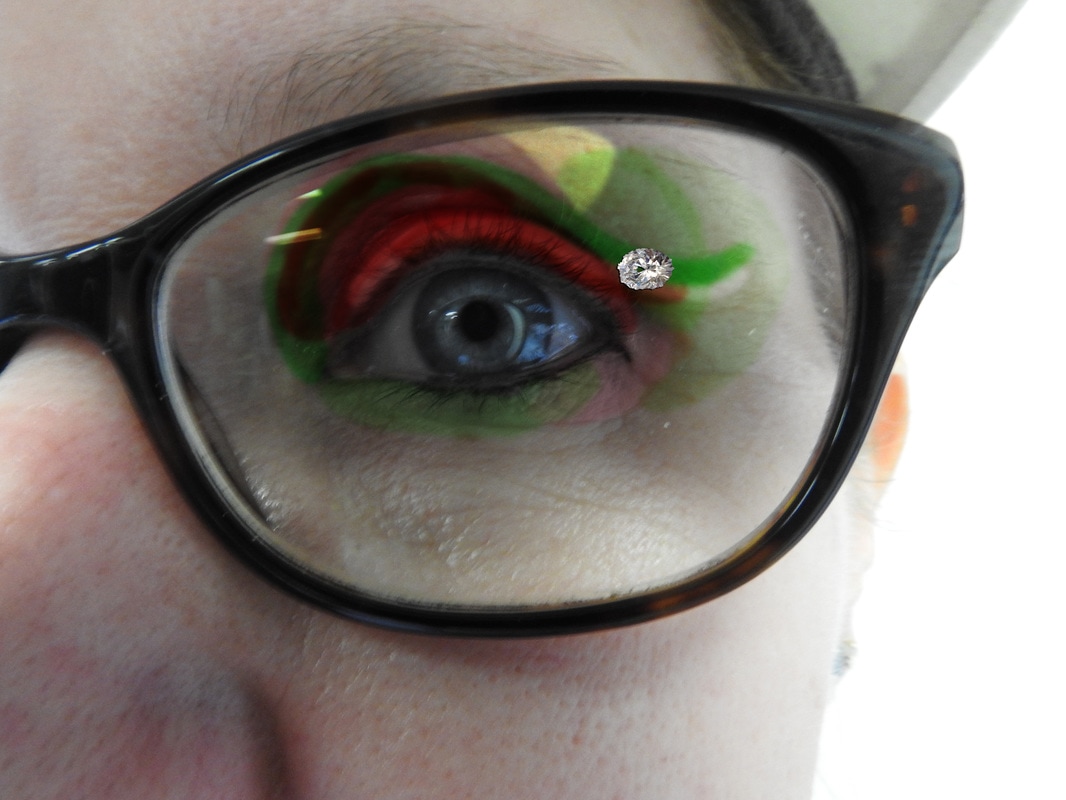
Choice Based Art Photograph Tutorial 2
The second choice based art tutorial I followed was the creative makeup tutorial. This tutorial took me approximately two class periods to complete because it was more difficult than the first project and I originally started this tutorial using a different photo, but i made a mistake and it didn't save to the computer. This tutorial was a bit harder to follow than the others and didn't come out looking the exact way that the tutorial showed you how to do, but i still believe that this photo corresponded with the purpose of this tutorial which was to digitally apply makeup to a photograph in order to enhance the photo itself. While following this tutorial, I learned that when applying digital makeup to a subject you must apply many overlapping layers of many various colors that in the end will blend together very well and compliment the specific feature of the face that you are working on. While doing this project, I faced many difficulties including how to overlay specific layers with different settings and not others, how to overlap certain colors, and how to alter the coloration on specific parts of the eye with different toned colors and blend them all together. In the end, I did like this project and I love the coloration on the end result, but I found it less explanatory than the first tutorial and a little harder and more complicated to follow.
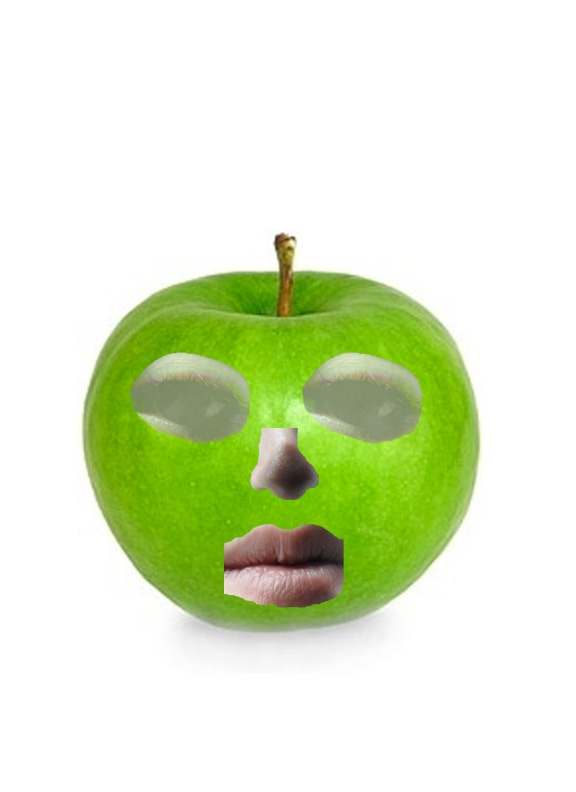
Choice Based Art Photograph Tutorial 3
The third and last choice based art tutorial I selected was the apple photo manipulation tutorial, and it was rushed, so it only took about one class but parts of it aren't matching to what the tutorial described, so I kind of started to follow my own path, as I only had a limited amount of time to complete this project. To complete this project you had to use photographs of isolated facial features and combine them all on the face of an apple. After doing this project, I learned that you can practically add a photo onto any funny, or cute photograph and use different, fun features to create a unique and personalized project. With this particular project, I found it hard to blend the facial feature photos with the apple to make it look more like one whole project as opposed to just cropped and pated photos, although I spent more time on the eyes and I do believe that they came out better than the rest of the project. Overall I liked the concept of this project and I believe it could be helpful in the future if you ever wanted to play around with photoshop and create some fun and cute photos.
